|
1951 Chevy Accessories Installation Manual |
|||
|
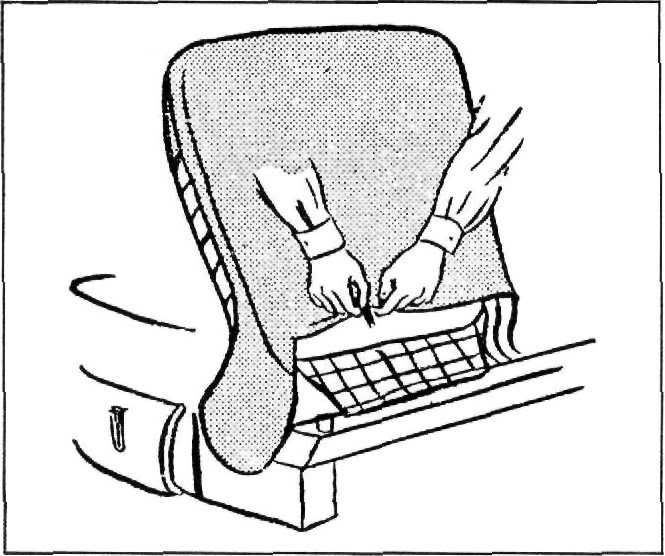
at a time
(THIS IS IMPORTANT). See Figure 28. If pulled down too far on One
side, cover may be torn. Line up all
seams to follow contour of back
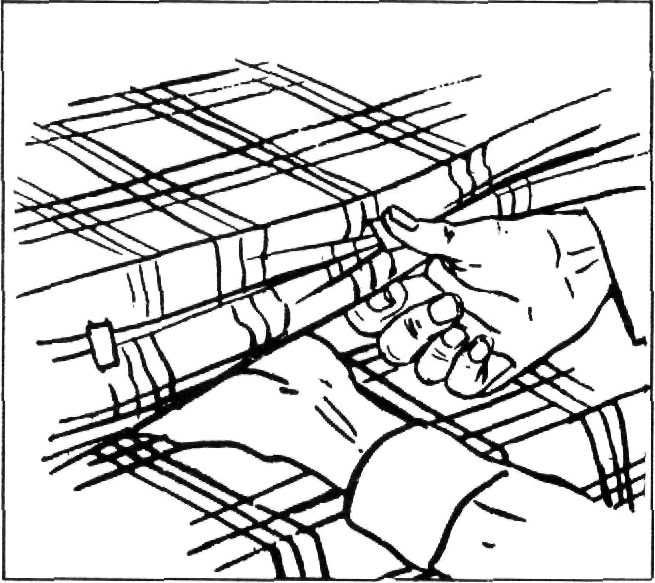
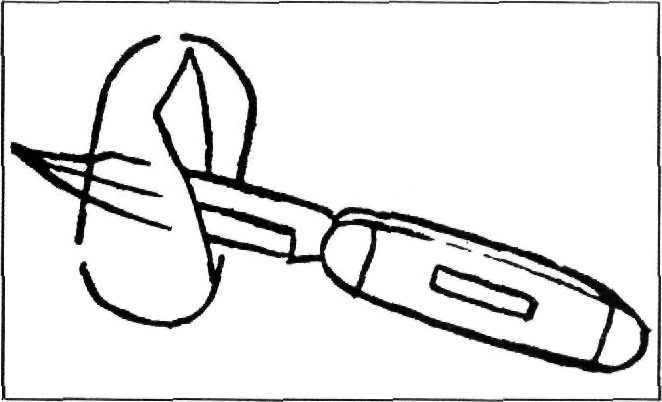
rest. 3. Place 4 four-prong
fasteners, into hem as shown
in Figure 29. Close prongs with pliers. |
 |
||
 |
|||
|
Figure 29
This will
prevent fasteners from coming unhooked.
4. Fasten hook into front part of
seat cover as shown in Figure
30. |
|||
|
Figure 31
6. Cut
slot in seat cover and as shown in Figure 32; replace robe
cords. |
|||
|
|
|||
 |
 |
||
|
Figure 32
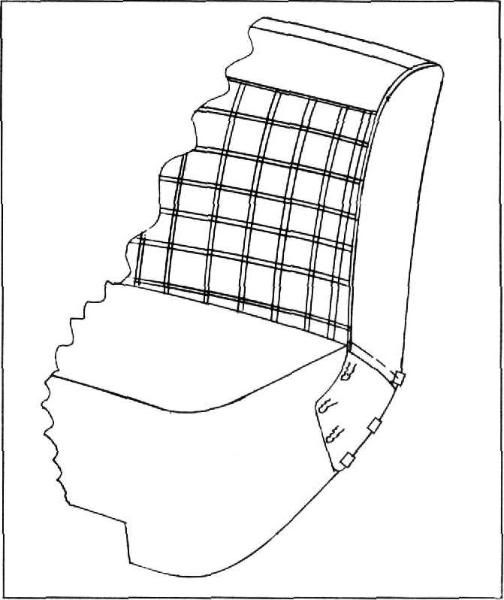
FRONT SEAT
CUSHION
1. Insert
two long wires into hem at rear of seat cover with hook ends to center of
seat. Place wire hook ends
into slot in center of seat
assembly as shown in Figure 33. Remove rubber bumper at outer edge of seat
and place wire under bumper
and replace screw. Drill a hole
for #10 screw at seat frame,
using #26 Drill, as shown in Figure 33, and hook short wire clip over long wire
at center and fasten to seat
frame with #10 self-tapping
screw and washer as shown in |
|||
|
Figure 30 |
|||
|
Place
small leather insert on front end of back rest side panel and pin with three
invisible pins as shown
in Figure 31. Pull side of seat
cover back rest over the side panel and clip with three spring clips as
shown in Figure 31. Repeat for
other back rest. |
|||
|
|
|||
|
12 |
|||
|
|
|||
| « PREVIOUS PAGE | CONTENTS PAGE | NEXT PAGE » |
|
|